
Rubberised Safety Surface Repair
Below is a step by step guide to the repair of a rubberised safety surface.
With this example, we are replacing worn out coloured wetpour.
The division between colours must be smooth to the eye, and clean cut to ensure a strong joint between colours. To achieve a quality result, the process does take time
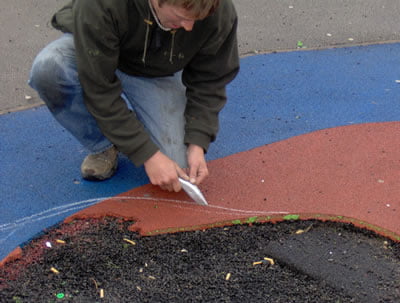
The old wetpour is cut out

The edges are made good
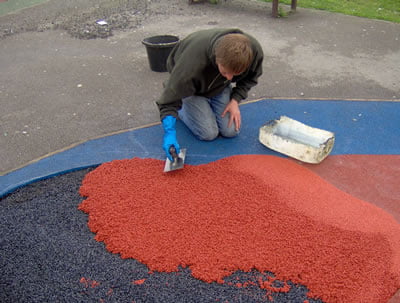
New wetpour is laid over the base layer
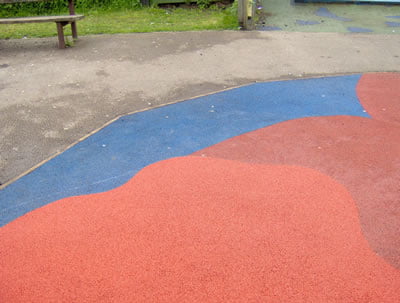
Repair finished
Contact Us
Book your Bounceback installation now!